Custom Monuments
A custom monument is a group of prefabs and terrain that you save as one file. You build it once, then place it on any map as often as you like. In the app, custom monuments are called Monuments.
What a monument holds
A monument file holds:
- Prefabs and other entities. Everything you put in the monument: Rust's prefabs, building blocks, splines, wires and other monuments.
- Terrain. A copy of the ground under the monument: its height, ground textures (splat), biome, topology and terrain holes (alpha). You choose which of these maps the monument saves.
- A blend map. It says where, and how strongly, a placed monument puts its terrain onto the map. You paint it, so the monument's ground fades into the map around it.
- Information. Author, version, link, tags and a description.
- Map generation settings and monument attributes. These tell Rust's map generator if the monument may spawn, and where it fits.
Each monument is a .asset file in your Custom Monuments folder. By default this is the CustomMonuments folder next to the app. To use another folder, change the Custom Monuments path in the Paths settings, then restart RustEdit. See Settings.
RustEdit does not make the CustomMonuments folder for you. If it is not next to the app, make it before you save your first monument.
What you can do with monuments
- Reuse your work. Place the same monument on many maps. Every placed copy stays linked to the file. When you change and save the monument, every placed copy updates.
- Build big things from small parts. A monument can hold other monuments. Make a set of buildings once, then use it inside larger monuments.
- Share and sell. Publish a monument to the RustHQ marketplace from the monument's bar. See Publish to RustHQ.
- Let the map generator place it. Turn on Enabled in the monument's Map Generation panel and add monument attributes. The Procedural Generation panel can then spawn your monument the way Rust spawns its own monuments.
How monuments work
- You make a monument, or you turn part of a map into one with Convert to Monument.
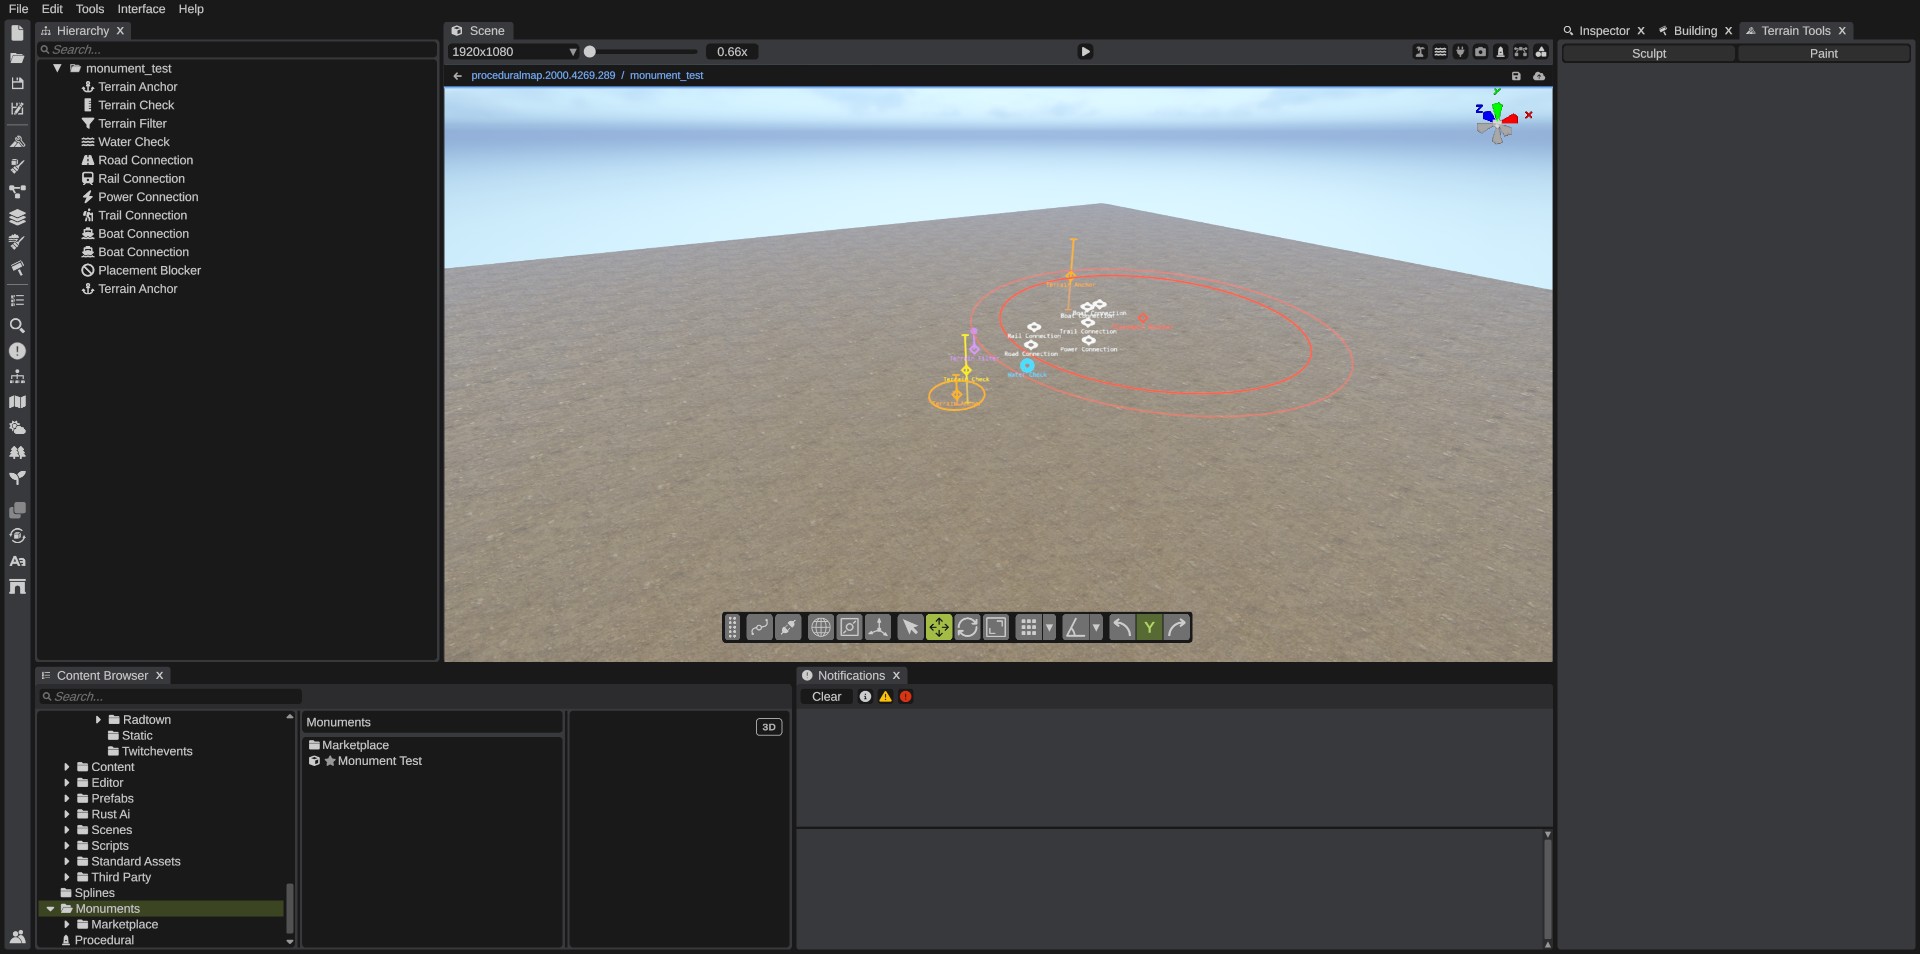
- The monument opens in its own scene, on top of your map. A bar over the scene view shows that you are editing a monument. Your map stays open behind it.
- You save the monument. Its file goes into the Custom Monuments folder.
- You go back to the map. The monument is in the Monuments folder of the Content Browser, ready to place.
- A placed monument shows in blue in the Hierarchy. Its parts come from the file, so you move, turn and delete the monument as one object.
Before you start
- Monuments are free. They need no RustEdit Plus or RustEdit Pro.
- Keep your monument files in the Custom Monuments folder. RustEdit only lists, places and updates monuments from this folder.
- A map saves only a link to each placed monument, not its parts. To open the map on another computer, copy the monument files into that computer's Custom Monuments folder too. An exported
.mapfile does not need them. See Linked monuments.